
How to Design a Custom Shed: 7 Practical Tips for PA Homeowners
Custom Shed Planning Guide
A custom shed can solve far more than a storage problem. The best result starts with a clear plan for how the building will be used, what must fit inside and how it will work on your property.
By Esh’s Storage Barns Team
About 8 minutes
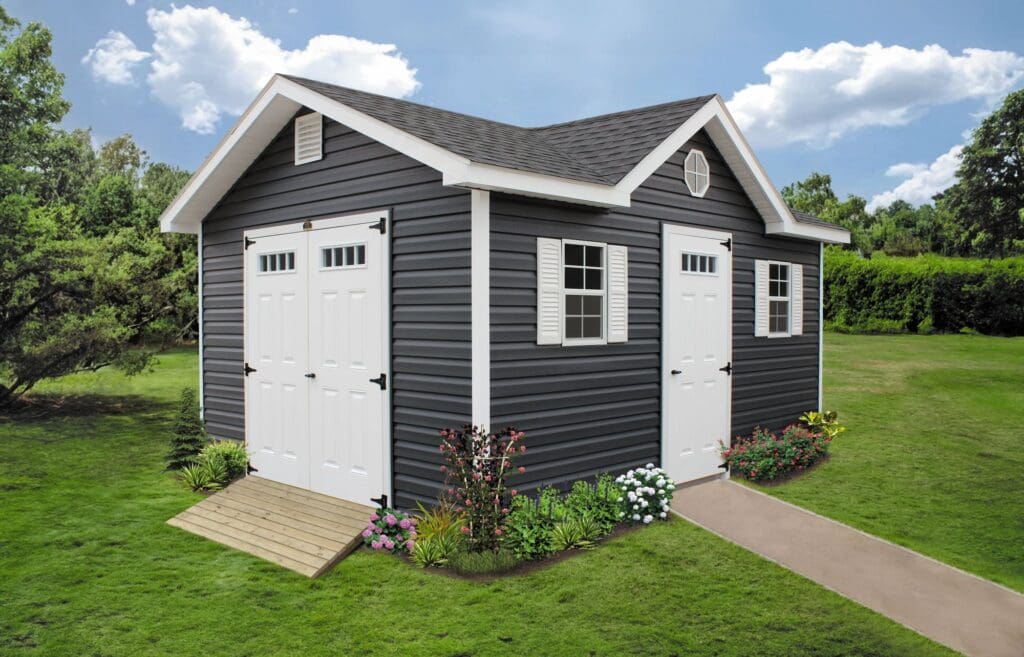
Plan Before You Customize
A custom shed can clear lawn equipment out of the garage, organize tools and seasonal decorations, hold pool equipment and patio furniture or create room for gardening, hobbies, a studio, a home office or a private backyard retreat.
Instead of choosing a size and color first, think through how people and equipment will move through the building and how the site will be prepared for delivery. Esh’s Storage Barns can help from design through delivery, giving you one team to compare styles and options, plan the site and prepare for setup.
Step 1
Decide How You Will Use the Shed
Begin with a list of everything the building needs to hold or make possible. A custom storage shed can be planned for lawn and garden equipment, hand tools, riding mowers, ATVs, bicycles, pool equipment, seasonal decorations, gardening projects, a workbench, a studio, a home office, a retreat or a combination of storage and workspace.
If you are considering a customer facing or commercial use, talk with your municipality and Esh’s early. Zoning, building code, utilities, accessibility and on site construction requirements may differ from a standard storage shed.
Sort the list by frequency. Keep weekly use equipment near an entrance. Place seasonal items toward the back, on shelving or in a loft.
Step 2
Choose a Size That Fits Today and Tomorrow
Measure the proposed building area, then allow room for site preparation, installation, doors, maintenance and access. Local setback, zoning and permit requirements vary, so check with the municipality before finalizing the location or size.
Measure your largest equipment and sketch a simple floor plan. Include the mower, ATV, workbench, shelves and other bulky items, then leave a clear path to move around them safely.
Step 3
Plan Doors Around the Largest Equipment
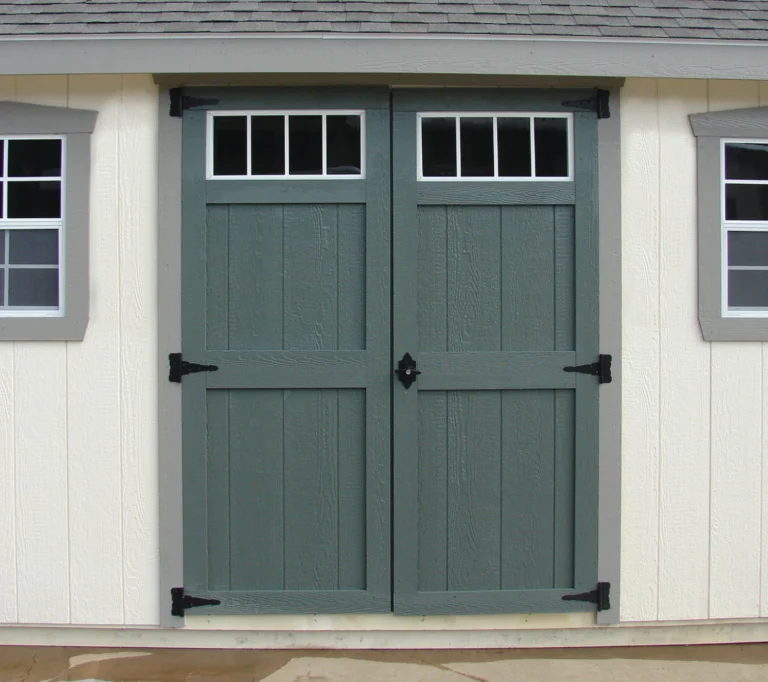
Door placement determines whether the shed feels convenient or frustrating. Start with the largest item that will regularly enter and leave. Double doors, a wider opening and a ramp can make it easier to move a riding mower, ATV, bicycle, pool equipment or bulky furniture.
A second entrance can separate quick access from equipment access. Map where each door will swing, how equipment will turn through the opening and whether stored items could block the path.
Step 4
Use the Walls and Overhead Space
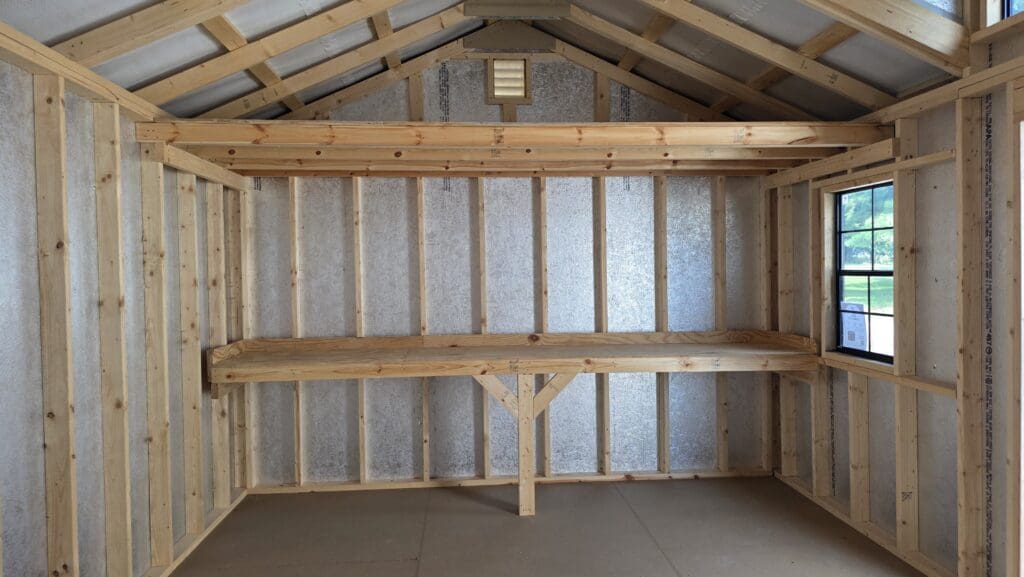
A loft can hold seasonal decorations, camping gear and outdoor cushions. Wall shelves can keep smaller supplies organized while leaving the floor open for equipment.
- Everyday tools near the main entrance
- Lawn, garden and pool supplies grouped by task
- Large equipment along a clear path
- Seasonal items in a loft or overhead area
- A workbench where doors and windows will not interfere
Plan storage features together. A window in the wrong place can eliminate shelving, a loft can affect headroom and a workbench can narrow an equipment route.
Step 5
Plan Natural Light, Airflow and Comfort
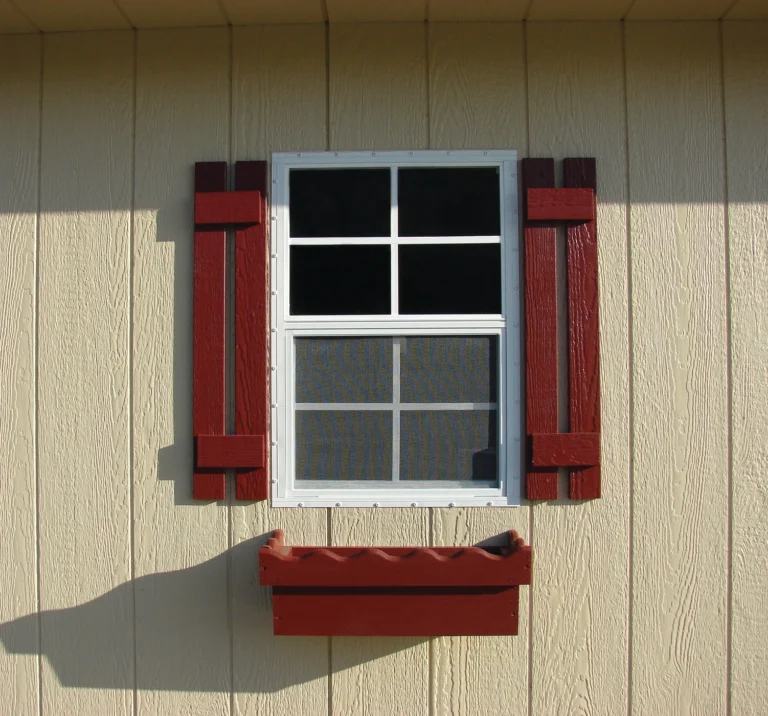
Windows bring in natural light, make stored items easier to find and create a more comfortable space for gardening, hobbies or projects. Place them where they will not conflict with shelves, equipment or a workbench.
Ventilation is especially important when a building holds lawn equipment or items affected by heat and humidity. Wall vents and ridge vents support airflow, but the best choice depends on the shed series, roof and intended use.
A custom shed is a true blank canvas. Esh’s can help combine doors, windows, vents, ramps, lofts, storage features and finishes around the way you plan to use the building.
Step 6
Choose a Style and Finish That Belong on the Property
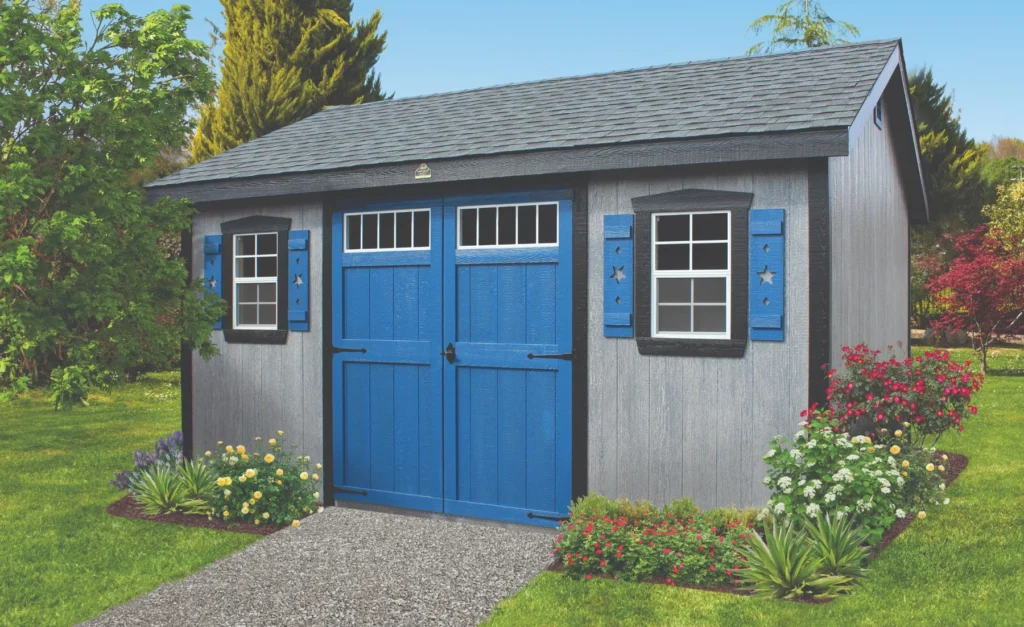
A coordinated roofline, siding profile, trim, doors, windows and color palette can make a shed feel like a planned part of the property.
Compare storage shed styles, including barn-style and A-frame buildings, and the traditional character of board-and-batten siding. Then decide whether painted or vinyl siding, an architectural shingle roof or a metal roof best fits the look and available building options.
Use Esh’s labeled color swatches as a starting point, but compare an approved physical sample when matching a home or garage. Screens, brochures, material texture and lighting can all change how a color appears.
Review shed construction specifications as you compare materials and available features.
Step 7
Prepare the Site and Delivery Route
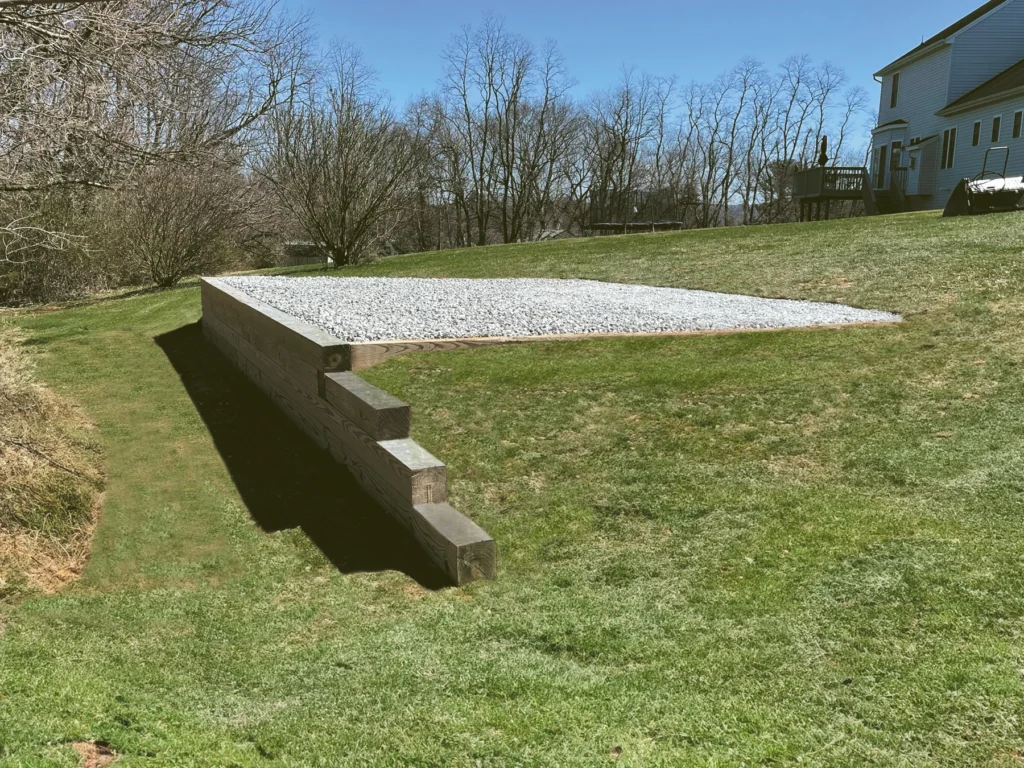
A well built shed needs a level, stable base and a delivery route that the crew and equipment can safely use. Esh’s can discuss site preparation service or the requirements for a customer prepared base.
Walk the delivery route and share these details early:
- Gate and driveway widths
- Tight turns and limited maneuvering room
- Slopes, uneven ground or soft areas
- Trees, branches, landscaping and fences
- Overhead wires
- Septic systems and underground concerns
- Any obstacle that could limit delivery equipment access
Bring the Whole Plan Together
The right custom shed brings size, layout, access, storage, comfort, exterior design and site preparation into one plan. Those choices can make the building easier to use from the day it arrives and adaptable for years afterward.
For 42 years, Esh’s Storage Barns has helped customers compare Amish built structures, explore custom options, prepare sites and plan delivery. Visit the Carlisle or Chambersburg sales lot, browse live inventory or request a quote for your property and budget.